Appendix A: Creating a Self-Signed SSL Certificate for localhost
Here’s how you can use openssl to create self-signed certificates for running HTTPS servers on localhost.
Create a signing key
openssl genrsa -out localhost.key 1024
Create a certificate signing request
openssl req -new -key localhost.key -out localhost.csr
When you’re prompted for Common Name, specify localhost. (You can accept the default/blank values for everything else.)
Sign the certificate:
openssl x509 -req -days 9999 -in localhost.csr -signkey localhost.key -out localhost.crt
Install the certificate:
Windows
- Double-click the
localhost.crtfile - Click Install Certificate…
- For Store Location, accept the default of Current User
- For Certificate Store, choose Place all certificates in the following store
- Browse… and select Trusted Root Certification Authorities
- Click Next
- Click Finish
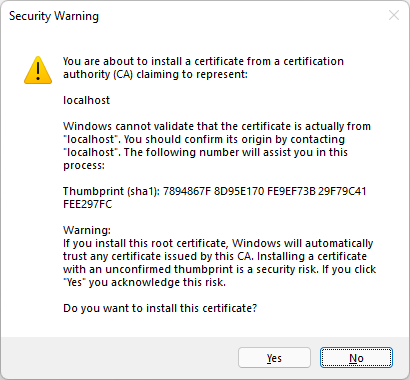
You should get a scary security warning - that means it worked. Click Yes:

You should get this:

That means it’s working. You can now use your localhost.crt and localhost.key to run servers on localhost over HTTPS without getting certificate validation warnings.